
Dockerfile:
A Dockerfile is a plain text configuration file used to define the steps and instructions for building a Docker container image. Docker is a popular platform that allows you to package and distribute applications along with their dependencies into lightweight, portable containers. These containers are isolated environments that can run consistently across different systems, making it easier to deploy and manage applications.
The Dockerfile contains a set of instructions that Docker uses to create a Docker image. When you build an image using a Dockerfile, Docker executes each instruction in order, resulting in a layered and reproducible image. Each instruction represents a specific action, such as copying files, installing dependencies, or setting environment variables.
A typical Dockerfile may include instructions like:
FROM: Specifies the base image to use for the new image. It is the starting point for the Dockerfile.MAINTAINER(deprecated): Specifies the name and email of the image maintainer. It is recommended to useLABELinstead.LABEL: Adds metadata to the image. You can use it for adding information like version, description, author, and other details.RUN: Executes commands inside the container during the image build process. It is used for installing packages, running build scripts, etc.CMD: Specifies the default command to be executed when the container starts. It can be overridden by providing a command when running the container.ENTRYPOINT: Similar toCMD, but provides a fixed entry point for the container. Arguments passed to the container are appended to the entry point command.WORKDIRorWORKDIR: Sets the working directory for the container, where subsequent commands will be executed.COPYandADD: Both are used to copy files and directories from the host machine into the container.ADDhas some additional features, such as URL support and automatic unpacking of compressed files.ENV: Sets environment variables inside the container.EXPOSE: Declares which ports the container will listen on at runtime. It does not actually publish the ports but serves as documentation.VOLUME: Creates a mount point with the specified name for external volumes or other containers to mount.USER: Specifies the user to run the commands in the container.ARG: Defines variables that can be passed to thedocker buildcommand using the--build-argoption.ONBUILD: Adds a trigger instruction to be executed when the image is used as the base for another image.HEALTHCHECK: Defines a command to check the container's health status.SHELL: Specifies the default shell to use forRUN,CMD, andENTRYPOINT.Always refer to the official Docker documentation or release notes for the most up-to-date information on Dockerfile instructions.Once you have created the Dockerfile, you can use the
docker buildcommand to build the image. The resulting image can be distributed and used to create containers across different environments, ensuring consistent and reliable deployment of your applications.\
Let's Create a Dockerfile for a Simple Web Application
We will do two projects, one for Python Flask-app and the other is node-app. We will be using an AWS EC2 Instance for this project. Let's get started
Python flask-app:
Prerequisites
Launch an EC2 Instance of instance type
t2.microas it includes the free-tier.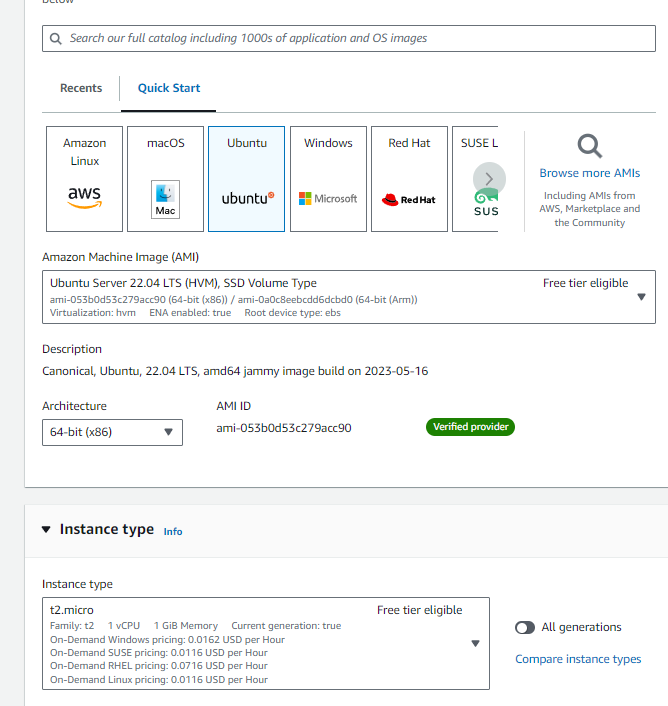
I am using Ubuntu Image for this Project. Select/Generate a key pair, On the security group use the default SSH rule only for now.
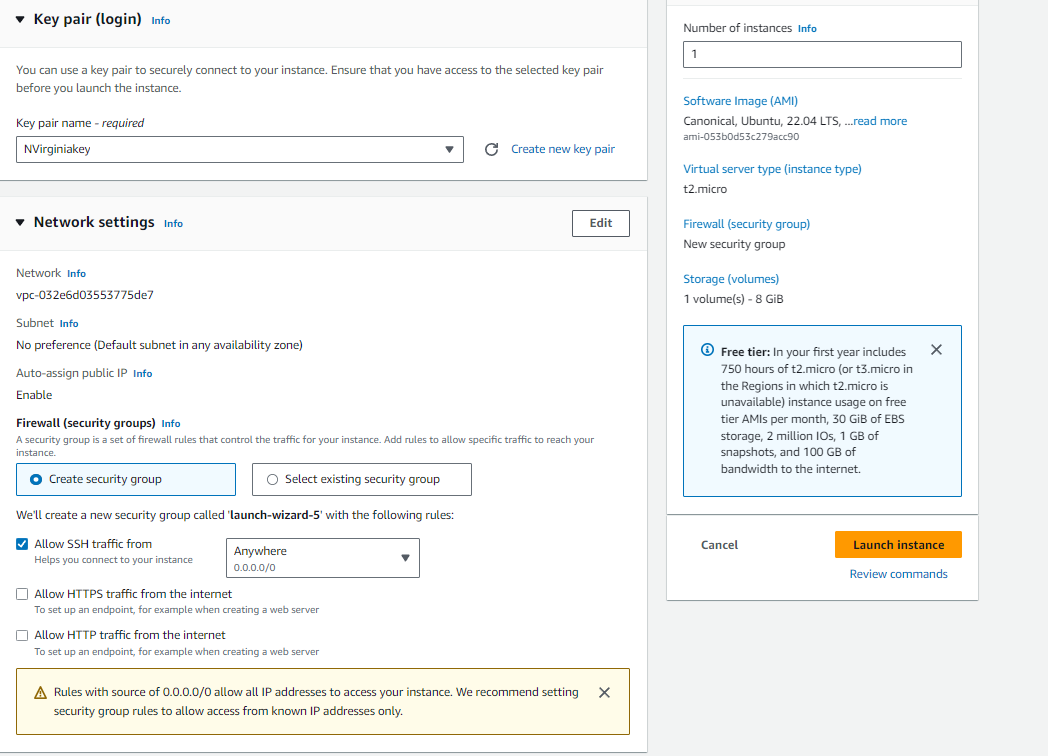
Rest leave the default option and hit Launch instance, it will take a couple of seconds to get ready.
Copy the Public IP of the instance and open a CMD.
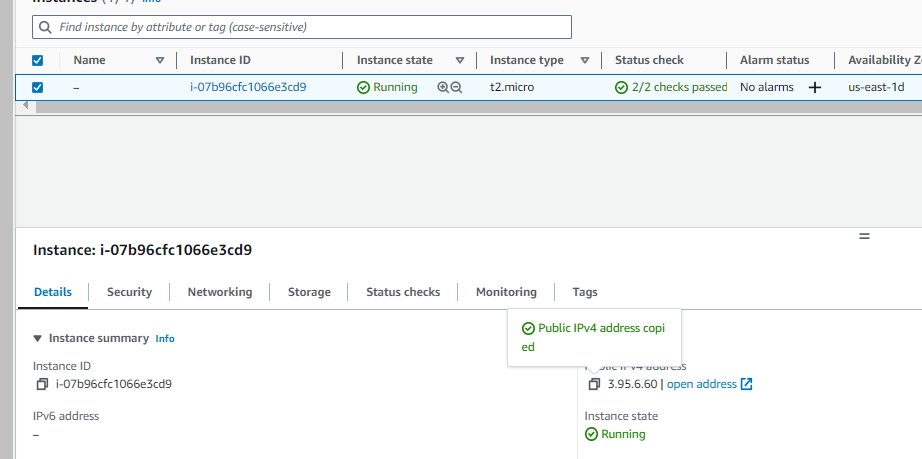
Now on the Cmd, cd to Downloads or where you have placed the Key. And do
ssh -i "Key_Name" ubuntu@public_ip, As shown in the Image below.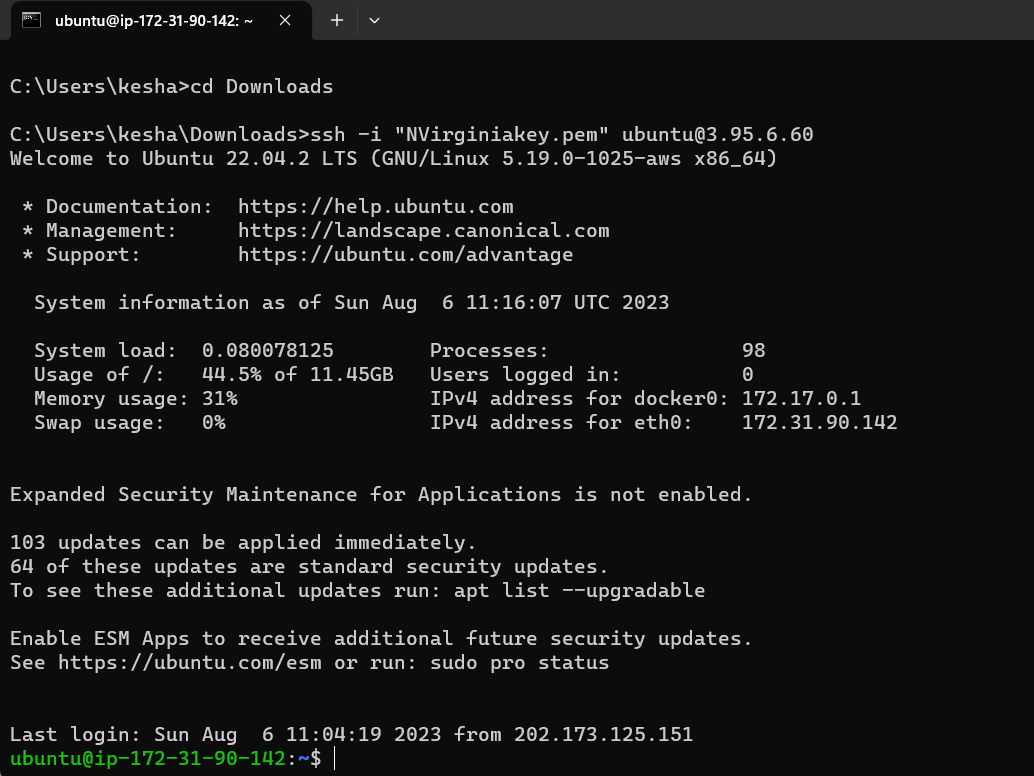
If you get an Error here stating Unprotected Key then make sure you change the Key file permissions using
chmod 400 key_name. This command will not work in CMD or Powershell, you need to install Git Bash if you are using a Windows Machine.
Now as we have successfully connected to the Instance lets start the actual Project now.
Create a Directory using
mkdir docker_projectsandcdto it.Create a Directory with the name of
flask-appinside it.If you see such structure by typing
treecommand then you are good,cdto the flask-app now.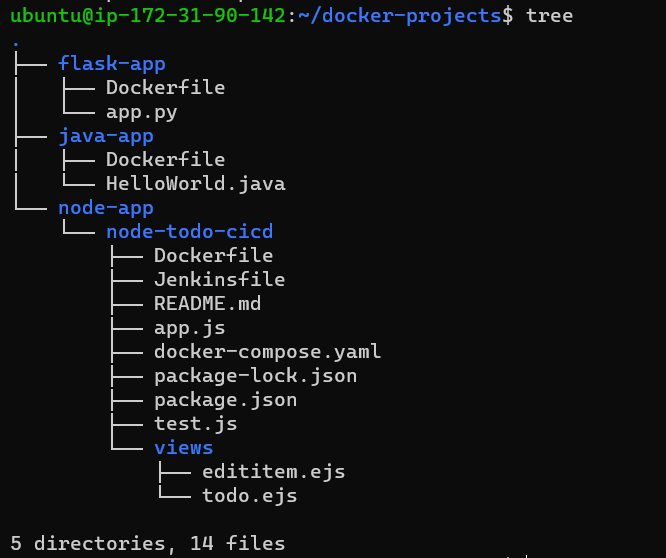
Let's create a Python flask code file using
vim app.py. In real-world scenarios, Developer will give this code file to you.from flask import Flask # Create a Flask app app = Flask(__name__) # Define a route for the root URL @app.route('/') def hello_world(): return 'Hello, Dosto' # Run the app on host 0.0.0.0 (all available network interfaces) and port 5000 if __name__ == '__main__': app.run(host='0.0.0.0', port=5000, debug=True)Now create a Dockerfile inside it using
vim Dockerfile, I have already created it. Let me explain it to you.# base image, it will pull the python image from the DockerHub FROM python:3.9 # setting Working directory for app WORKDIR app/ #copy code from system to container COPY app.py . # install required libraries # RUN is used while Container creation RUN pip install flask #run the application # CMD is used to run a command POST container creation CMD ["python","app.py"]I am assuming that Docker is already installed in your Instance, if not do checkout my previous blog Docker for Beginners. Let's create a Docker Image from this code.
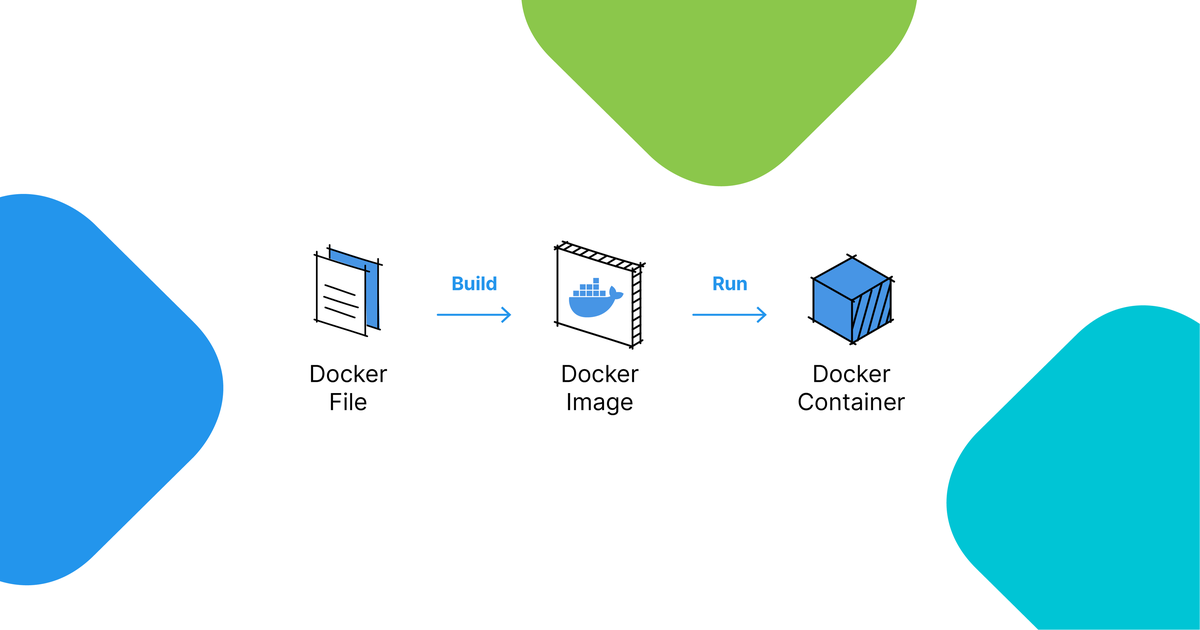
$ docker build -t flask-app . # docker build it used to create a docker image,
                              #-t is used to tag the image or to name it
                              # a dot . in the last indicates the PATH of the files in host machine
Now after successfully creating an Image check it with
docker imagescommand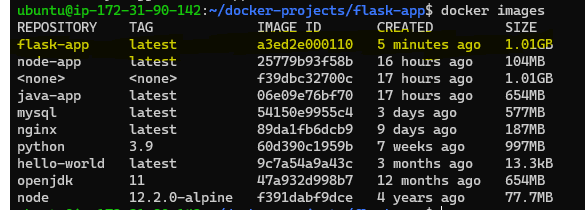
Now let's run this image using the
docker run$ docker run -d -p 5000:5000 flask-app # -d means run in detached mode/ daemon mode , in the background # -p means publish, we want to open the port and bind the host port with the container port to make it accessible

Now it will be accessible from the the public ip of instance. public_ip:5000.
But actually it will not work because no port is opened in the Security Group of the instance. Go to instance security group and add an inbound rule for port 5000.
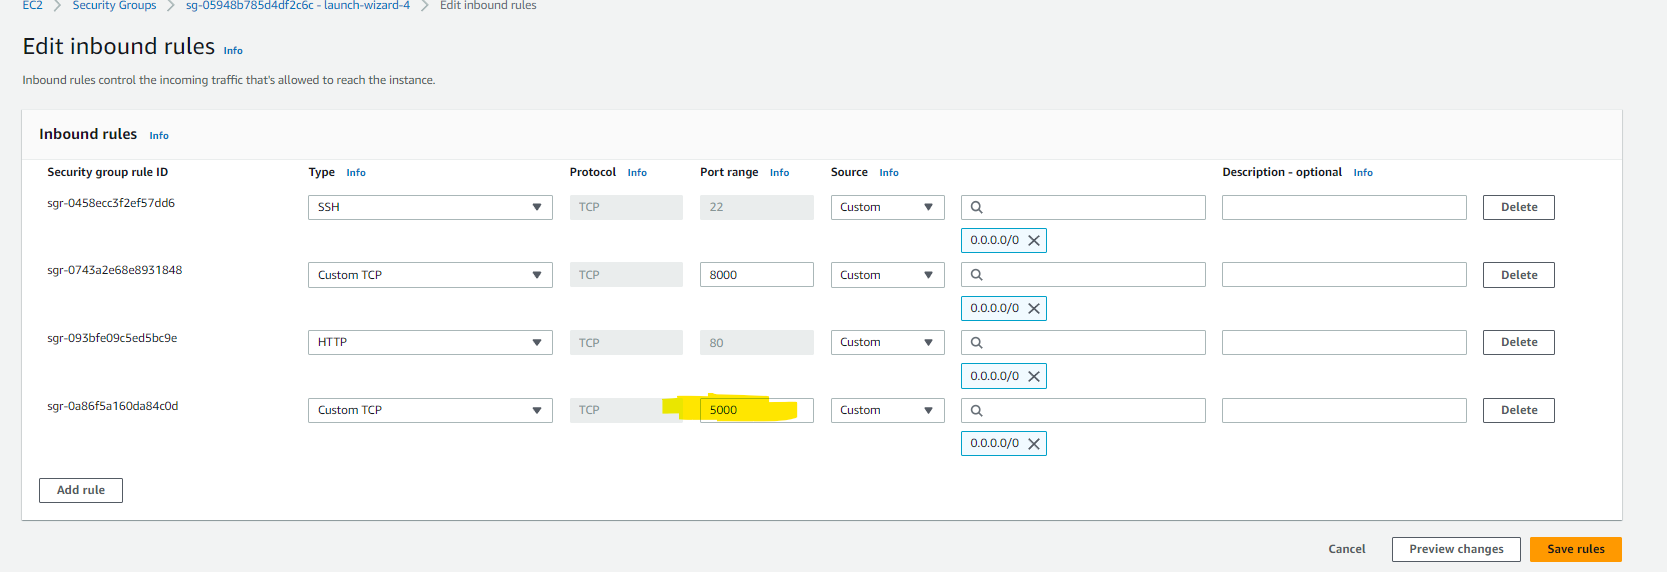
Let's check now, and see if our app is running or not.
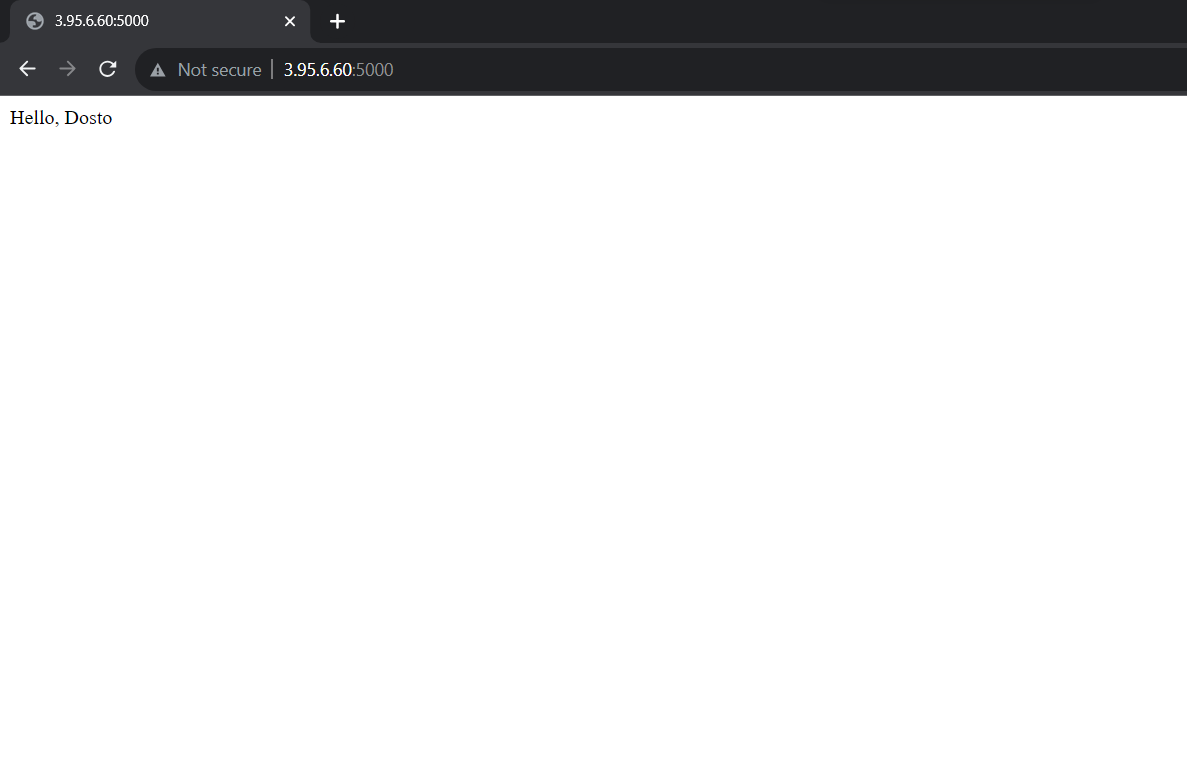
Hurray it is working.
Node js app
I am assuming you have done all the prerequisites and you are currently in your Instance. Let's Begin, cd .. to the docker_projects directory and create a new directory with the name of node-app and cd into it.
- Now I am cloning the code from GitHub Repository into this folder. Using
git clone repo_url, you will seenode-todo-cicdfolder in it, just cd into it.

You will see all the required files in it, including the Dockerfile.
Let's open and check the Dockerfile
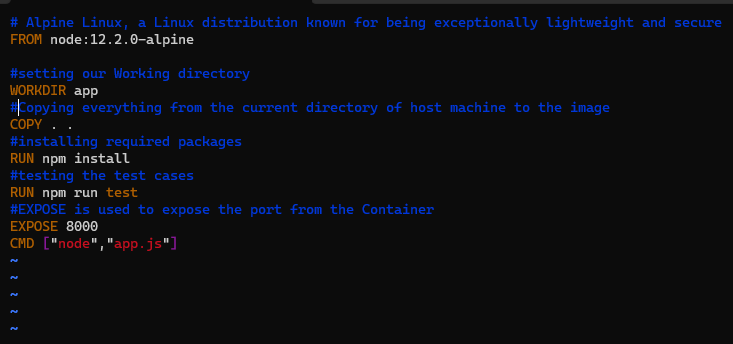
Let's build it to make an image using
docker build -t node-app:v1 .We have already learnt what does this command does in the previous projectNow check the image using the
docker images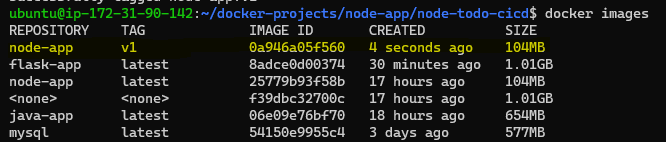
let's run it now using
docker run -d -p 8000:8000 node-app:v1
Now check the public port of the instance to access it, make sure to add the inbound rule for port 8000 in the Instance Security group
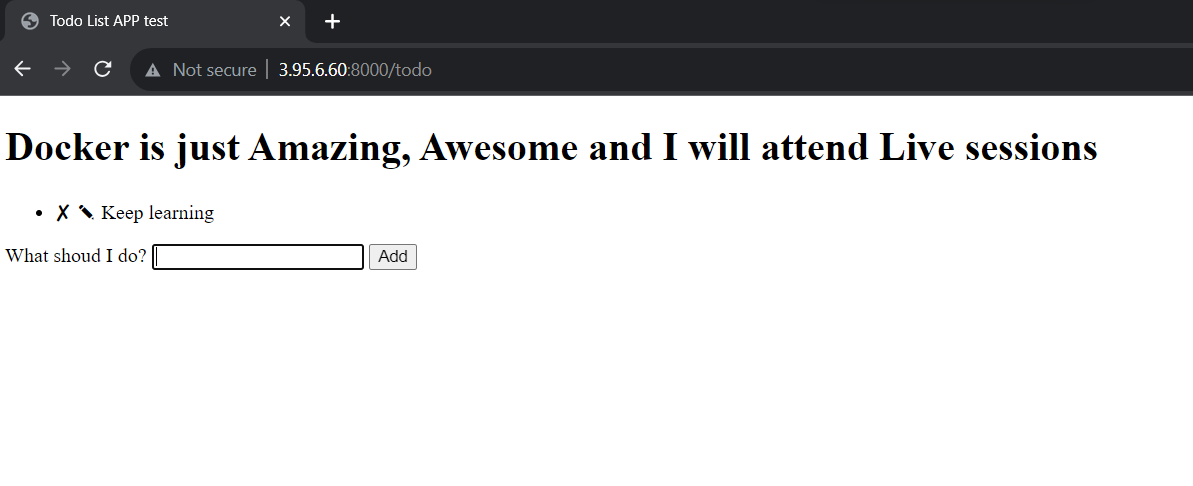
Now we have created both projects successfully. Do checkout the GitHub for the code Node and java project Node-app
To push the images to the docker hub first you need to login to the docker hub from cmd using the
docker login
Then tag the images using the
docker tag image_name dockerhub_username/imagename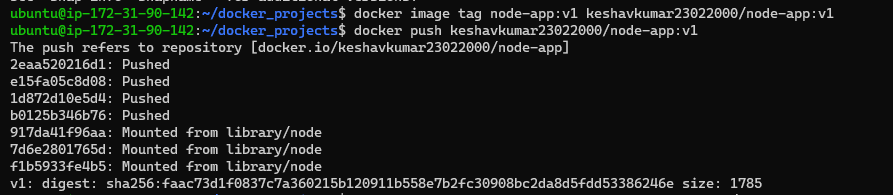
Now do docker push
dockerhub_username/imagenameand Similarly, push the other flask-app image. Check your docker hub dashboard.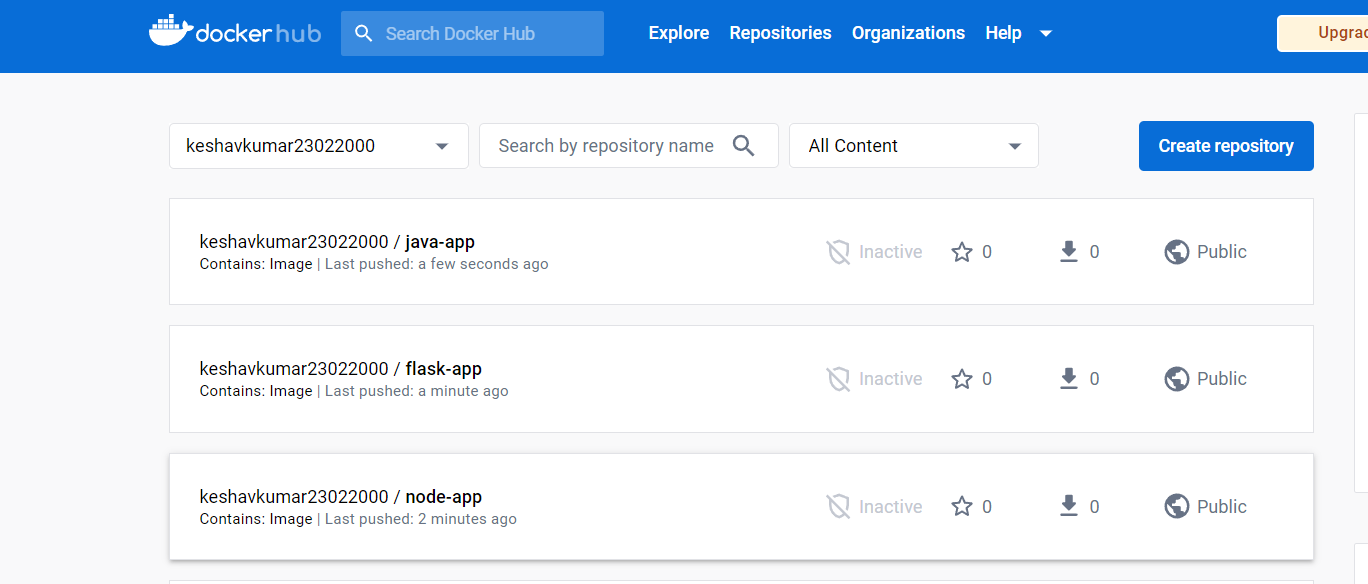
Here we have completed Both Docker Projects. Don't stop here, keep going.


