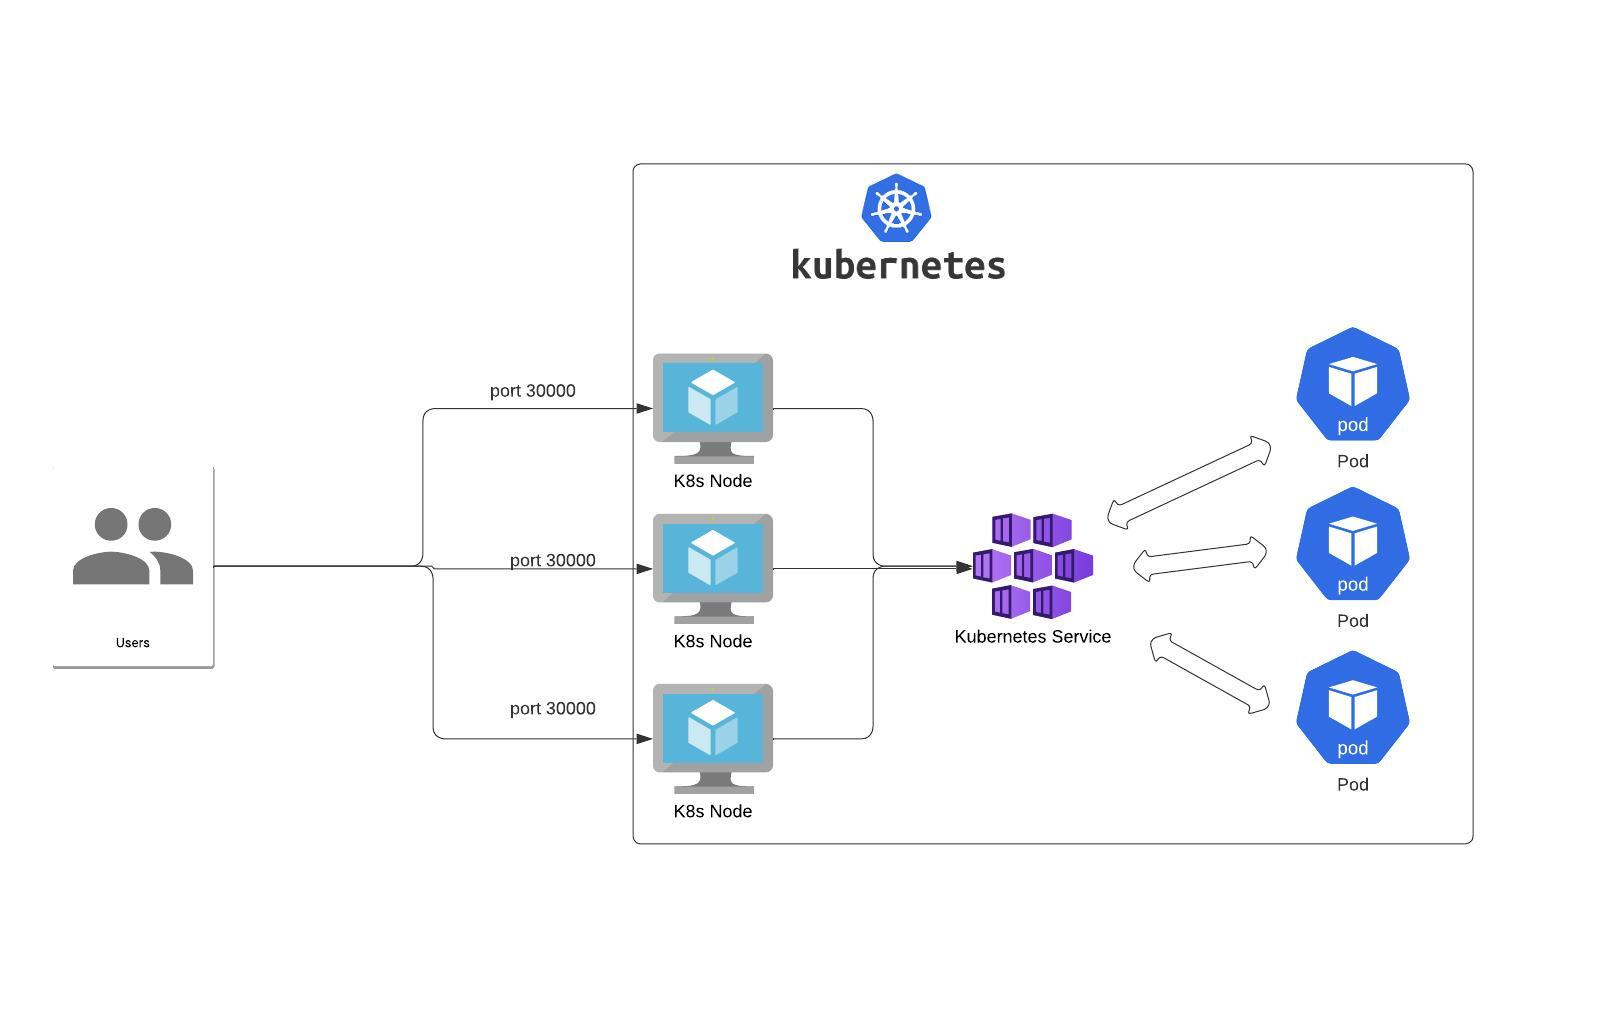
Introduction
In Today's blog, we will be discussing Services and their types, like NodePort, ClusterIP and LoadBalancer. I will demonstrate each one with an example for better grasp and better understanding. Let's first understand what Service is in Kubernetes and what features it brings.
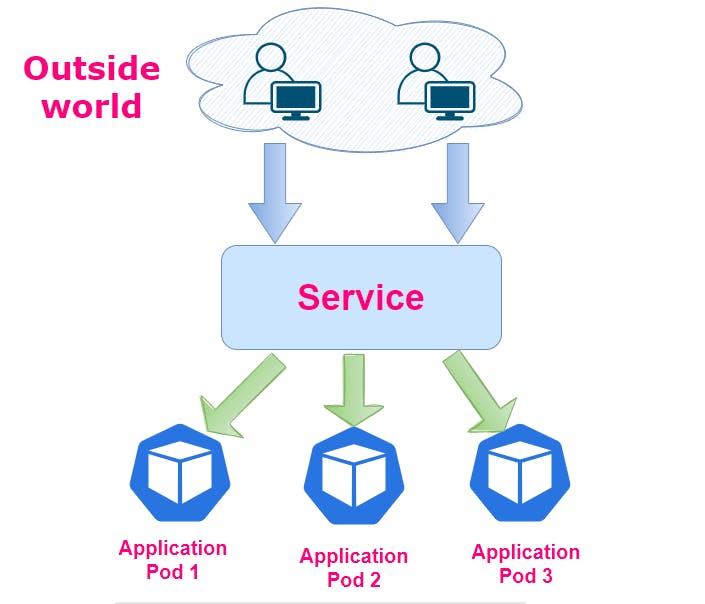
Understanding Services
In Kubernetes, a Service is an abstraction that defines a set of Pods and a policy for accessing them. Services enable network connectivity to Pods running in a Kubernetes cluster, allowing applications to communicate with each other or with external clients.
Here are some key aspects of Kubernetes Services:
Stable Network Identity: A Service is assigned a stable IP address and DNS name (if configured), which doesn't change even if the underlying Pods are replaced or rescheduled. This provides a consistent way for other services or clients to reach the service.
Load Balancing: Services can distribute network traffic among multiple Pods, ensuring that requests are load-balanced across the available instances. This helps improve application reliability and scalability.
Service Discovery: Services enable automatic service discovery within the cluster. Other Pods can discover and communicate with a Service using its DNS name or IP address.
Selectors: Services are associated with Pods using label selectors. Pods that match the selector criteria are automatically included in the Service. This means that you don't need to manually specify which Pods the Service should route traffic to; Kubernetes manages it for you based on labels.
Types of Services:
ClusterIP: This is the default type. It exposes the Service only within the cluster, and it's not accessible from outside the cluster.
NodePort: It exposes the Service on a specific port on all nodes in the cluster. It's accessible externally by connecting to any node's IP address and the specified port.
LoadBalancer: It provisions a cloud load balancer (if supported by your cloud provider) and makes the Service accessible from outside the cluster via the load balancer's IP address.
ExternalName: This maps the Service to a DNS name. It's used for integrating with external services by providing a DNS alias to them.
Session Affinity: You can configure Services to use session affinity (also known as "sticky sessions") so that requests from the same client are directed to the same Pod, ensuring that stateful applications can maintain session continuity.
Let's dig more into each Service Type
Certainly, let's delve deeper into the different types of services in Kubernetes:
ClusterIP:
Description: This is the default type of Service in Kubernetes. It exposes the Service on a cluster-internal IP address that is only accessible from within the cluster.
Use Case: ClusterIP Services are typically used for internal communication between different parts of your application. They are not accessible from outside the cluster, making them suitable for databases, internal APIs, and other services that should not be directly exposed to the public internet.
Example:
  apiVersion: v1
  kind: Service
  metadata:
    name: my-service
  spec:
    selector:
      app: MyApp
    ports:
      - protocol: TCP
        port: 80
        targetPort: 8080
NodePort:
Description: NodePort Services expose the Service on a specific port of every node in the cluster. This means that the Service is accessible externally by connecting to any node's IP address and the specified port.
Use Case: NodePort Services are useful when you need to expose your application to the external world, but you don't want to use a load balancer or need a simple way to access your services during development and testing.
Example:
  apiVersion: v1
  kind: Service
  metadata:
    name: my-service
  spec:
    selector:
      app: MyApp
    ports:
      - protocol: TCP
        port: 80
        targetPort: 8080
    type: NodePort
LoadBalancer:
Description: LoadBalancer Services are used to provision a cloud-specific load balancer (if supported by your cloud provider) to distribute traffic to the Service. It assigns an external IP address to the Service.
Use Case: LoadBalancer Services are suitable when you need to expose your application to the internet and require automatic load balancing and traffic distribution. It's often used for production workloads.
Example:
  apiVersion: v1
  kind: Service
  metadata:
    name: my-service
  spec:
    selector:
      app: MyApp
    ports:
      - protocol: TCP
        port: 80
        targetPort: 8080
    type: LoadBalancer
Important
In a NodePort Service in Kubernetes, you can define a custom port (as opposed to having it dynamically assigned) by specifying the nodePort field in the Service definition. This allows you to choose a specific port number within a certain range, provided it doesn't conflict with other services or reserved ports. Here's how you can define a custom port in a NodePort Service:
    apiVersion: v1
    kind: Service
    metadata:
      name: my-service
    spec:
      selector:
        app: MyApp
      ports:
        - protocol: TCP
          port: 80          # Port on the Service
          targetPort: 8080  # Port on the Pods
      type: NodePort
      nodePort: 30000      # Custom port number (choose within the range)
In the above example, we've set the nodePort field to 30000, specifying that the NodePort for this service should be 30000. You can choose any available port within the valid range for NodePort services.
Predefined Range of NodePort Ports: The valid range for NodePort ports in Kubernetes is typically between 30000 and 32767. Ports below 30000 are considered well-known ports and are typically reserved for system services or standard services. Ports above 32767 are generally not recommended because they are considered unprivileged ports, and lower ports are preferred for system services.
It's important to note that when choosing a custom NodePort, you should ensure that it doesn't conflict with other services or processes using the same port on your nodes. Also, be aware that NodePort Services can be accessed by external clients by connecting to any node's IP address and the chosen NodePort.
In production environments, you should also consider using a higher-level abstraction like a LoadBalancer Service or an Ingress Controller to manage external traffic and distribute it to your NodePort Services, as they provide more advanced features and better security than exposing NodePorts directly to the internet.
A lot of theory? Let's dive into practicals now.
Task 1: Creating a Service and exposing it using NodePort
We are using a minikube cluster hosted on AWS EC2, lets create a namespace first using the command
kubectl create namespace todoapp.Here is our Deployment Yaml file
  apiVersion: apps/v1
 kind: Deployment
 metadata:
   name: todo-deployment
   namespace: todoapp # added this line
   labels:
     app: todo
 spec:
   replicas: 2
   selector:
     matchLabels:
       app: todo
   template:
     metadata:
       labels:
         app: todo
       namespace: todoapp
     spec:
       containers:
         - name: todo
           image: keshavkumar23022000/node-deploy
           ports:
             - containerPort: 8000
Here is our Service Yaml file
 apiVersion: v1
  kind: Service
  metadata:
    name: node-svc
    namespace: todoapp
  spec:
    selector:
      app: todo
    ports:
      - protocol: TCP
        port: 80
        targetPort: 8000
        nodePort: 30007
    type: NodePort
Apply both using
kubectl apply -f service.ymlandkubectl apply -f deployment.ymland try to access the application using the instance public ip and the port number. Make sure to add the port 30007 in the inbound rules.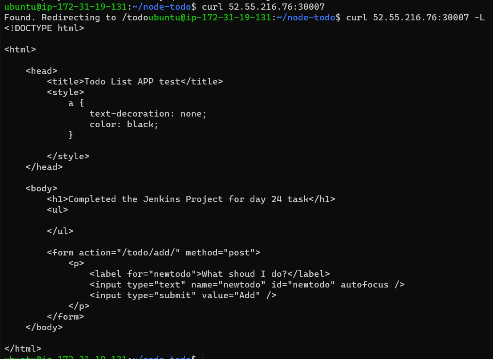
Task 2: Creating a Service with Cluster IP and Testing it.
The deployment file remains the same, we need to modify the service file with the one shown below:
 apiVersion: v1
  kind: Service
  metadata:
    name: node-svc
    namespace: todoapp
  spec:
    selector:
      app: todo
    ports:
      - protocol: TCP
        port: 80
        targetPort: 8000

    type: ClusterIP #changed the type
We need to apply it using the
kubectl apply -f service.ymland to test it we need to create a test pod in the same namespace as ClusterIP is accessible from within the cluster only, so we will test it with the test pod. Here is the manifest file for the test:
 apiVersion: v1
 kind: Pod
 metadata:
   name: test-pod
   namespace: todoapp
 spec:
   containers:
     - name: busybox
       image: busybox
       command: ["sh", "-c", "while true; do wget -q -O- http://10.96.122.167; done"]
10.96.122.167 is our cluster IP and our pod-to-pod communication is already established so need not mention the port number as it will auto-discover it. Apply it as well using the kubectl apply -f test-pod.yml
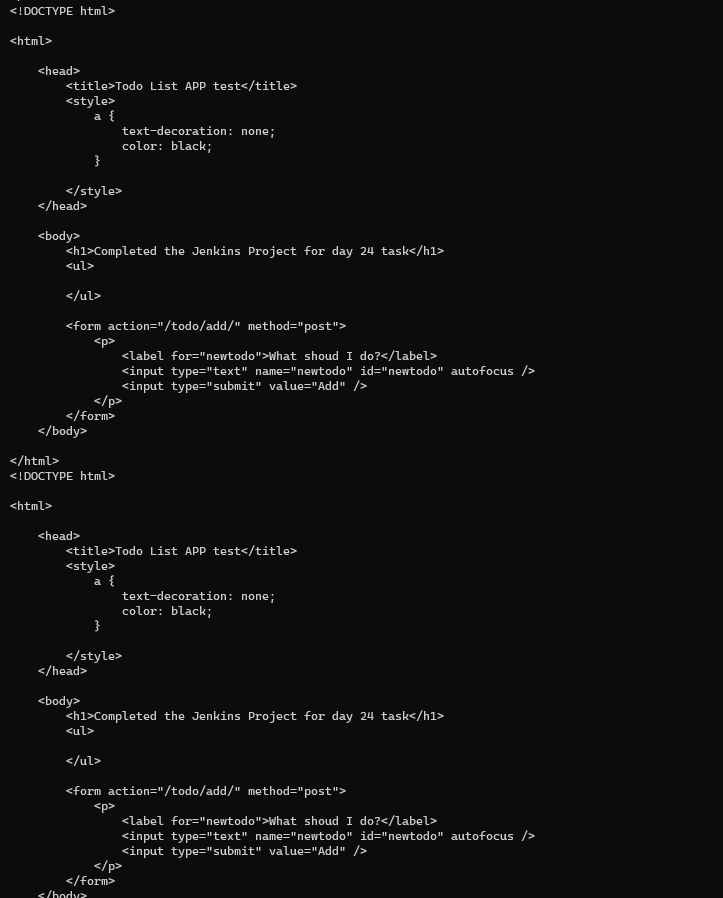
- To validate it, we need to check the logs of the test pod, we can check it using the command
kubectl logs pods/test-pod -n todoapp. It will go into an infinite loop as we have not mentioned any condition in the command section, you can use the while statement in it. Here is the output
Task 3: Creating a Service with a Load Balancer
Create a Service yaml file
 apiVersion: v1
  kind: Service
  metadata:
    name: node-svc
    namespace: todoapp
  spec:
    selector:
      app: todo
    ports:
      - protocol: TCP
        port: 80
        targetPort: 8000
        nodePort: 30007 # defining our desired port
    type: LoadBalancer #changed the type
Deployment file is same, lets apply this
kubectl apply -f service.yml
The External IP is not populating so I have to use minikube tunnel, if you have any alternative let me know.

This command will start
minikube tunnelin the background and redirect its output to a file callednohup.outin the current directory.So it works on the External IP now as shown below
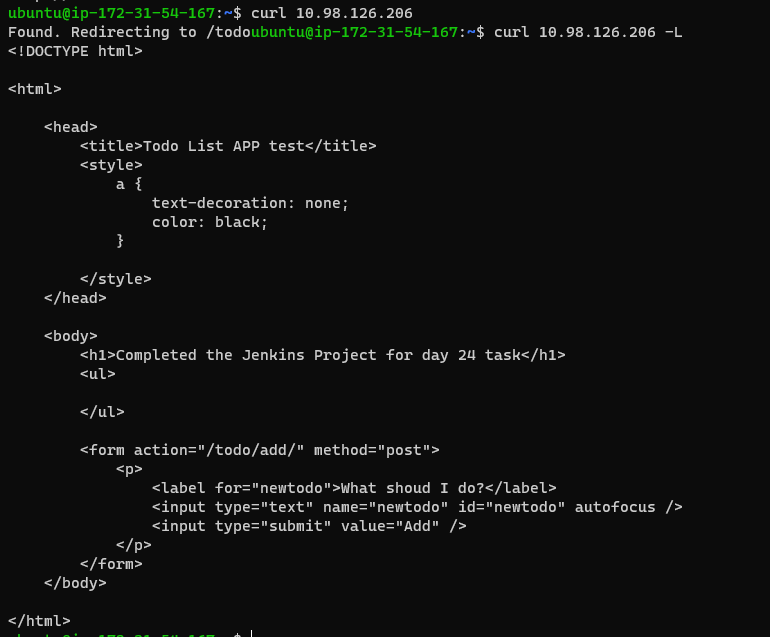
We have learned the services with the demonstrations now. Happy Learning!


